Groups are a handy feature for keeping track of groups of photos, or photos from a single location that you’re making a tour out of. Groups are mainly just for personal organization, you’re able to link any Snap from any group for a tour.
- Use the Navigation Menu to select Groups
- Open the Add Groups Tab and Input Your Title
- Once you’ve created the group, head back to the Snaps area using the Navigation Menu
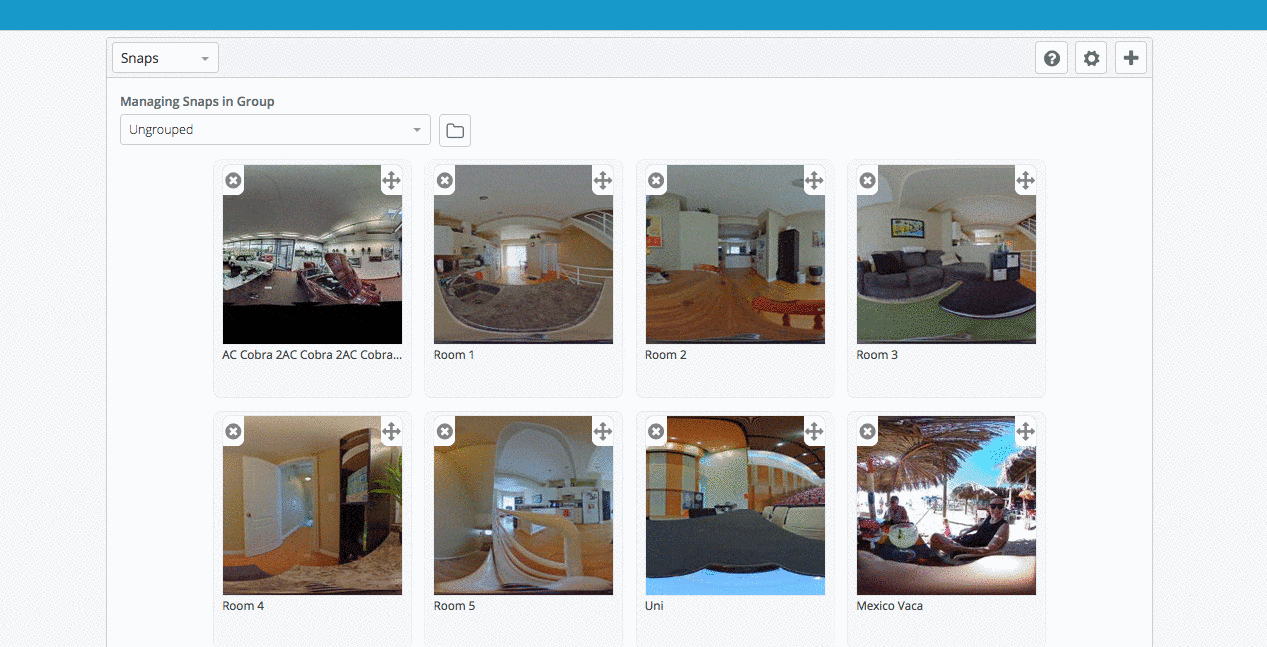
- Click the “Folder” button next to the Group selection tab. This will give you the option to move each Snap into your Group
- Using the dropdown boxes that appear under each thumbnail, simply choose the group you want to add the Snap to, and it is moved into that group instantly.
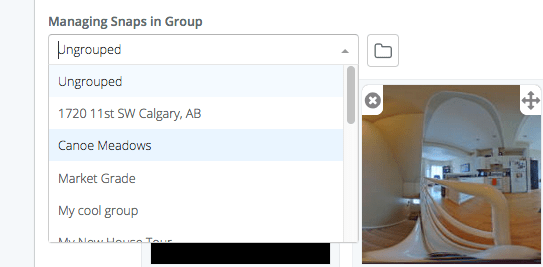
7. From here use the Group navigation drop down to select your created Group and see the Snaps inside of it.
Leave a reply
You must be logged in to post a comment.