There are many ways to add your own custom touches to your 360 images. One of the most important customization features we offer is complete control of your branding options within a 360 photo or virtual tour.
Brand Colours For Your Hotspots
One of the easiest ways to leave your visual mark on your 360 photos is by changing the colours of your Hotspots. In the example below, I’ve changed my hotspots to have a white background and my text and icons to be blue. Clicking the “Save As Default” button will save these colour preferences for all future Hotspots you create in your team’s account.
You can create as many different hotspot colour variations within a Snap as you see fit.

Custom URLS
You have the option to use a custom URL for your Team. For example, you could have all your photos show up under the URL “360Photos.YourCompany.com” or “YourCompany.com/360Photos/.”
Add A Logo in The Corner Of the Image
To access the Custom Branding options for adding or removing a logo to the corner of an image, open a Snap, click preferences, and select this section:
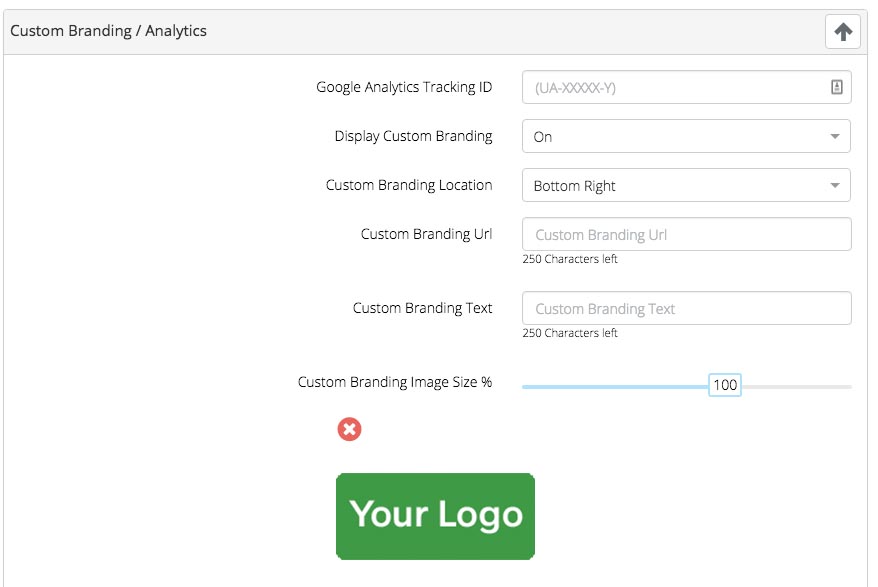
You have quite a bit of control of how your branding will look and where it links too. Each Snap you upload can have it’s own custom branding, allowing for you to customize 360 images for a wide variety of clients and companies.
Branding settings can be copied to other Snaps as well, set it all up the way you want it in one Snap, then instantly copy all the settings to every other Snap in the Group.
Dynamic Zenith and Nadir Patches
Want to remove that tripod that is at the very bottom of your photo (the nadir)? Want to add some branding or an image for those that look all the way up? That’s what Zenith and Nadir Patches are for. You can access this option in the Snap Preferences. Upload a JPG or PNG file and control the size of it using the distance slider.

Zeniths and Nadir patches are dynamic. They rotate around with the user’s view, so they’re always facing up, which means no more struggling to read upside down text.
The patches are also non-destructive: unlike Photoshop and other image editors, you’re not ‘burning in’ the patch to your original image. That means less re-compressing of your images, and less hassle if you need to change a client logo or other branding!
Custom Hotspot Icons
A great way to make your mark on your images is by uploading your own icons for use with your Hotspots. The platform allows you to replace any icon with one that you’ve uploaded or created. The icons need to be in SVG format so that they can scale with any size screen that your image shows up on. You upload the icons via the “User Icon” section of the Dashboard.
![]()
Once the icon has been uploaded. You may access it from your Hotspot editor. You can also delete icons from the “User Icons” section.
![]()
Save Regularly Used Hotspots in the HotSpot Library
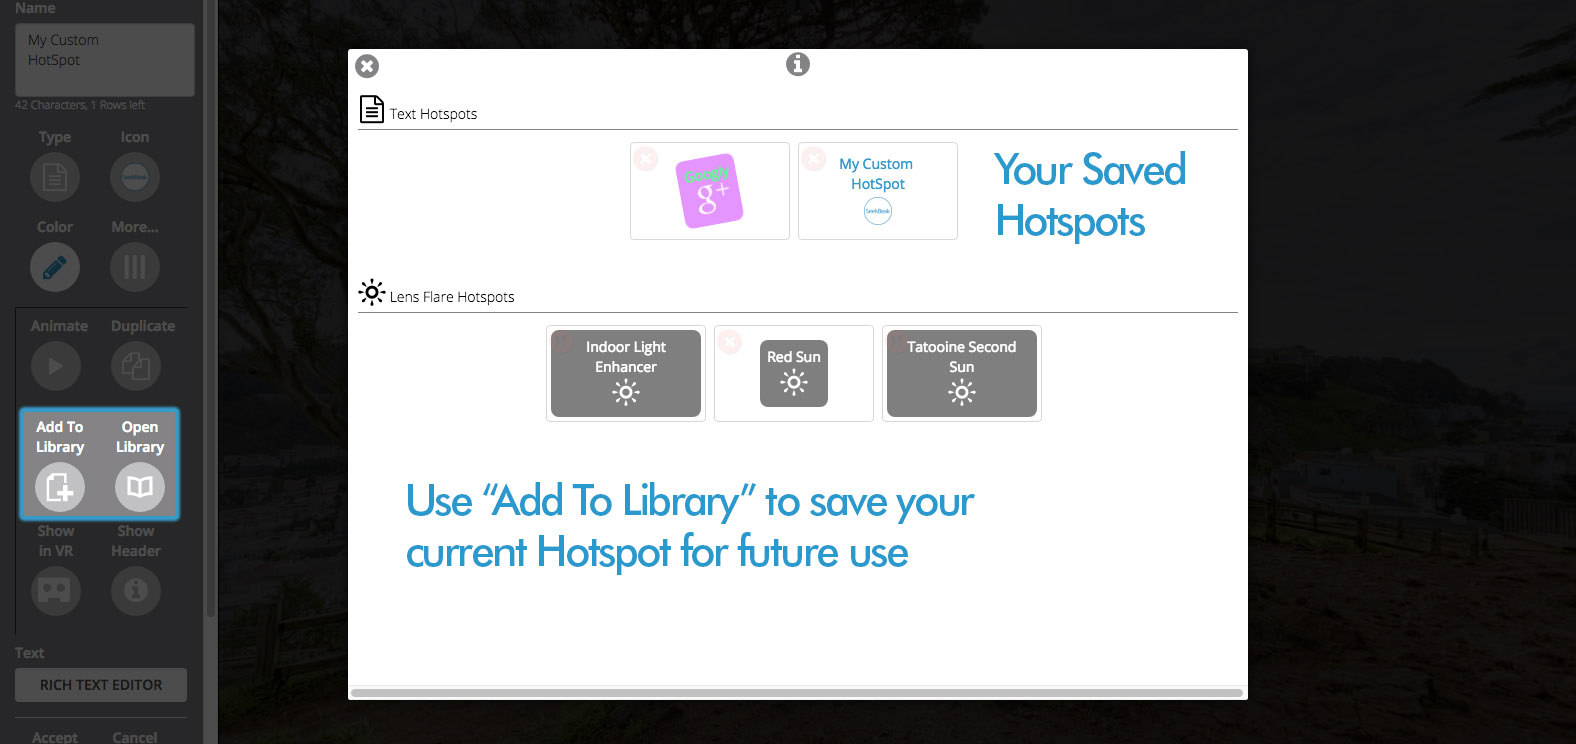
Occasionally, there might be Hotspots you use over and over again. We created the Hotspot Library so you can save specific Hotspots for reuse. In order to access your Library, create a Hotspot, open the “More” option in the Hotspot Menu, and then click “Open Library.” From here you can see any Hotspots that you’ve saved in the past.
To save a Hotspot, just open the Hotspot editor and click “Add To Library.”
Leave a reply
You must be logged in to post a comment.